Clinical protocol
Maxillary sinus lift
Lateral and transcrestal approaches explained step by step: selection criteria, complication management and practice on real patients in Brazil.
When the maxillary sinus stops being an obstacle
Posterior maxillary resorption and sinus pneumatisation often leave less than 6 mm of available bone height. Sinus floor elevation restores that volume and allows implants to be placed in a correct prosthetic position. Choosing between the lateral and transcrestal approach depends mainly on residual bone height, sinus anatomy and operator experience — exactly what we train, case by case, under direct supervision.
Clinically reviewed in August 2026
Lateral vs transcrestal: how to decide
Two valid approaches with different indications. The most common error is forcing the least invasive technique in a case that requires lateral access.
Lateral approach (window)
- Mainly indicated with residual bone height below 4–5 mm or when a large vertical gain is needed.
- Direct view of the Schneiderian membrane: easier elevation and septa management.
- Allows a larger graft volume and either delayed or simultaneous implant placement.
- Higher post-operative morbidity: swelling, haematoma and longer surgical time.
Transcrestal approach
- Indicated with enough residual height for primary stability (usually ≥ 5 mm) and a moderate vertical gain.
- Osteotomes or osseodensification burs (Densah) preserve and condense bone while lifting the floor.
- Less invasive, less swelling and faster patient recovery.
- Blind elevation: demands rigorous tactile control and careful CBCT reading to avoid perforations.
The protocol in 7 phases
Sequence performed by participants on real patients, under direct faculty supervision.
- 01
CBCT reading and case selection
Measuring bone height and width, identifying septa, assessing membrane thickness, ostium patency and the course of the posterior superior alveolar artery.
- 02
Choosing the approach and biomaterial
Deciding between lateral window and transcrestal access, simultaneous or delayed implant placement, and selecting the graft (xenograft, mixed with autogenous bone) combined with PRF.
- 03
Flap and access
Full-thickness flap with adequate releasing incisions for the lateral route and window osteotomy with piezosurgery or a diamond bur; transcrestally, access is through the implant osteotomy itself.
- 04
Schneiderian membrane elevation
Progressive elevation with dedicated curettes keeping bone contact, or hydraulic/osteotome elevation transcrestally. Integrity confirmed with the Valsalva manoeuvre.
- 05
Grafting and PRF
Filling without over-compaction, PRF membranes as a protective layer over the sinus membrane and improved healing with autologous growth factors.
- 06
Implants and closure
Simultaneous placement when primary stability is sufficient, window closure with a membrane and tension-free suturing.
- 07
Post-operative care and follow-up
Sinus precautions (no nose blowing, avoid strain and flying in the first days), medication and radiographic follow-up of graft maturation before loading.
Real cases and radiographs
Images of surgeries and instrumentation from previous editions of the Brazil residency.
Frequently asked questions
How much residual bone allows simultaneous implant placement?
The criterion is primary stability, not a number. With 4–5 mm of good-quality residual bone, simultaneous placement is usually possible; below that, delayed placement is more predictable.
What should you do if the membrane perforates?
Small perforations can be sealed with collagen or PRF membranes and surgery continues. Extensive perforations that prevent graft containment justify aborting and re-entering after healing.
How long before loading the implants?
It depends on graft volume and achieved stability: typically 4–6 months for transcrestal elevations and 6–9 months for lateral windows with a large vertical gain.
Will I perform this technique during the residency?
Yes. Sinus lift is one of the surgical modules performed by participants on real patients, under continuous faculty supervision.
Who signs this protocol
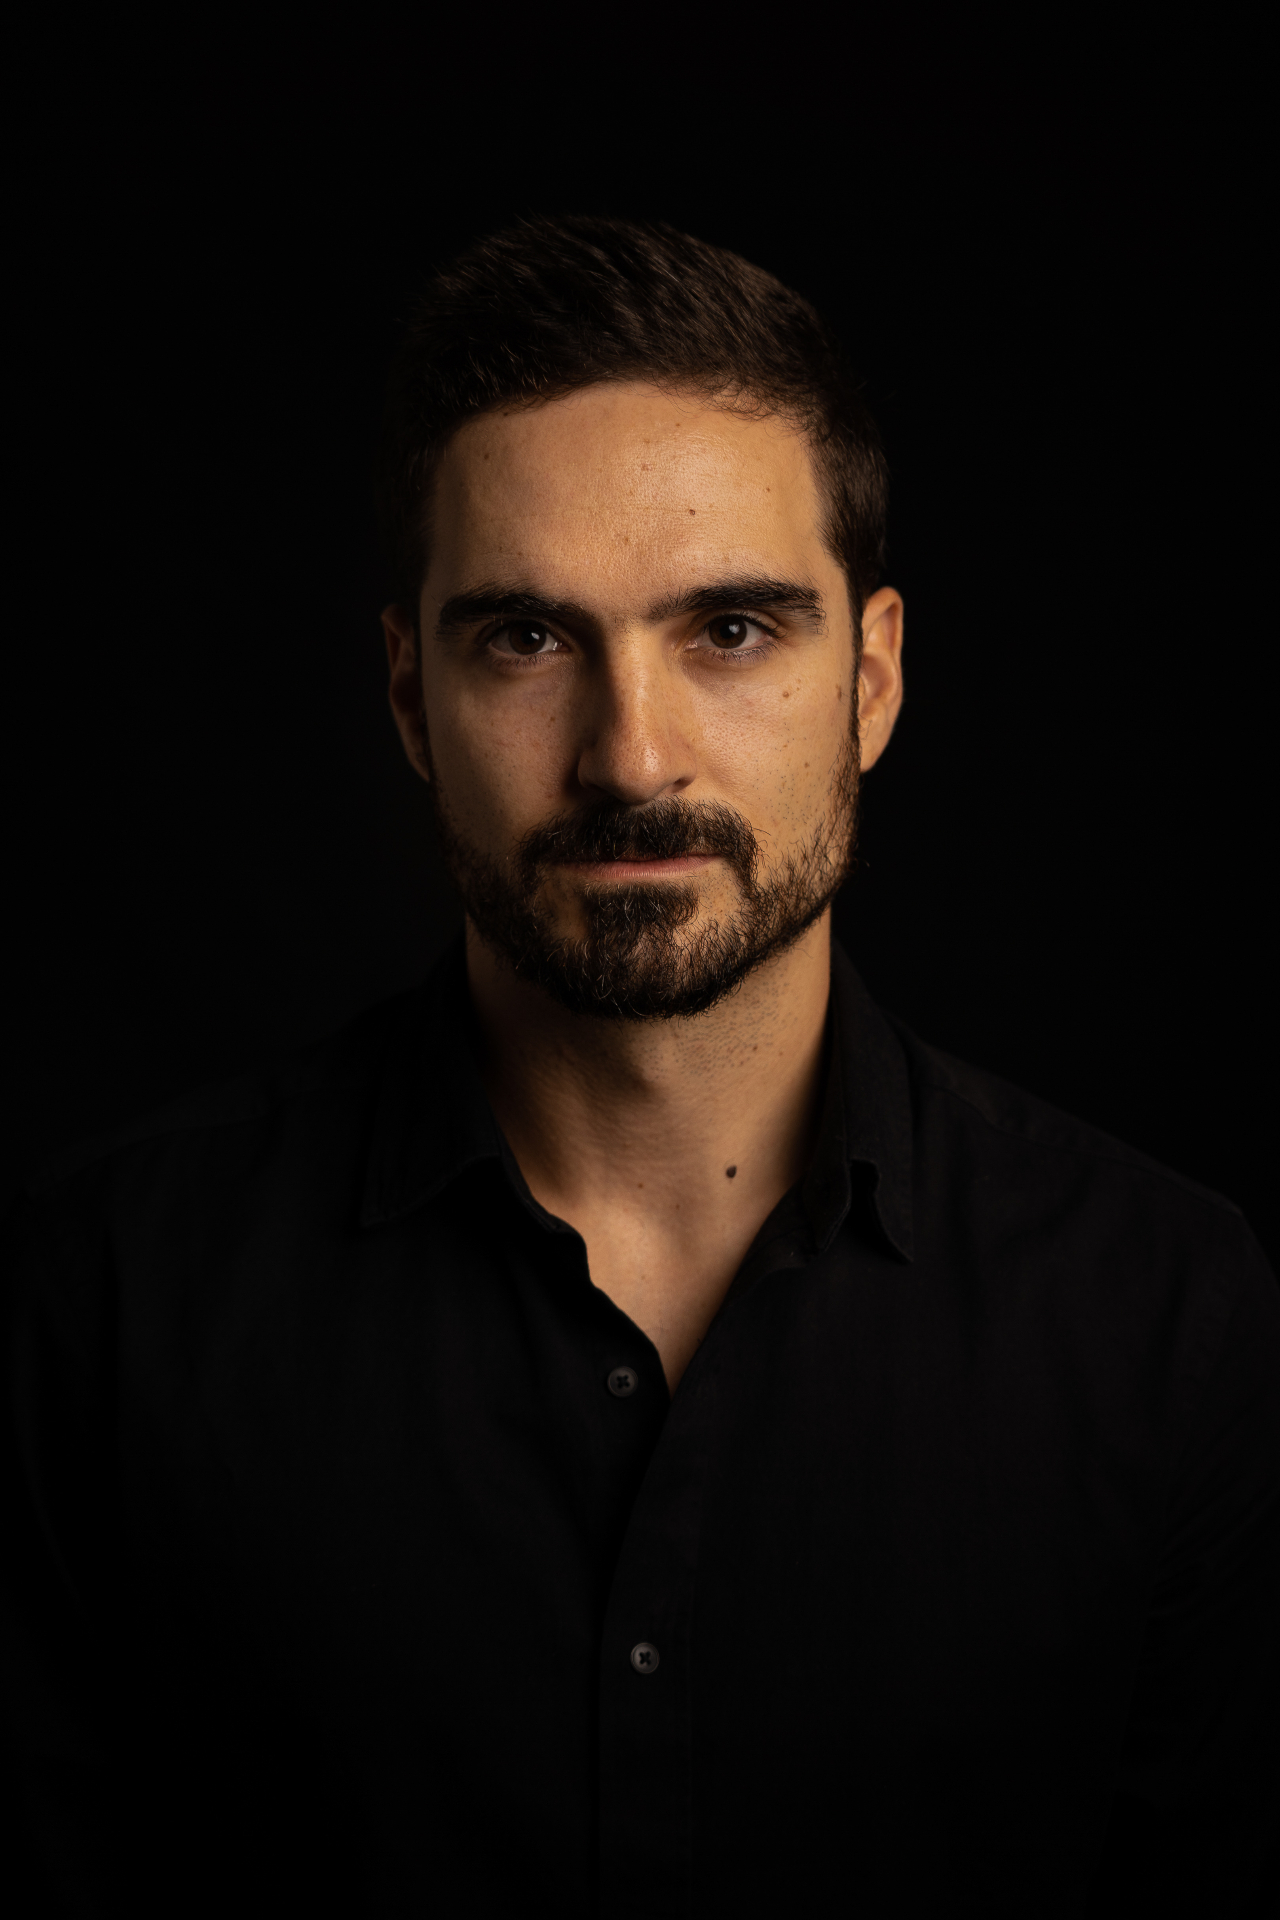
Dr. João Borges Nogueira
Oral surgeon practising in Paris, dedicated to advanced implantology, regeneration and international training of dentists.
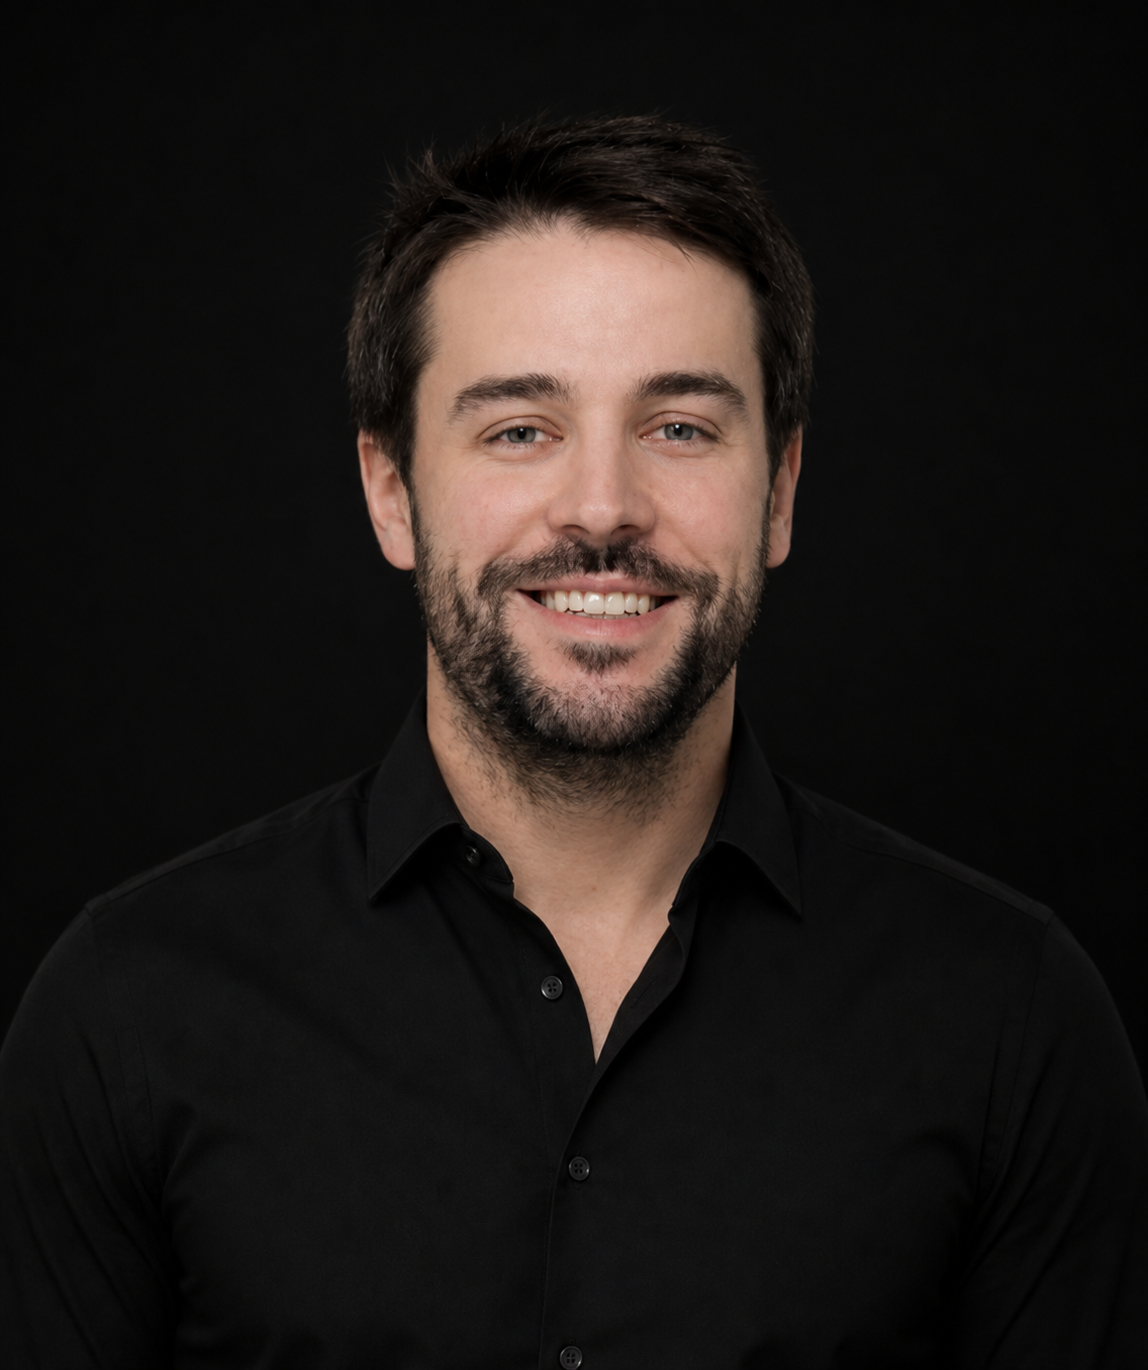
Dr. Gonçalo Castilho
Specialist in oral implantology practising in Portugal, focused on full-arch rehabilitations, digital planning and complex reconstruction cases.
Related procedures
These techniques combine within the same treatment plan — explore each protocol in detail.
All-on-4 — full-arch rehabilitation
Full-arch protocol on four implants with immediate loading.
Guided bone regeneration (GBR)
Grafts and membranes to rebuild bone volume before or during implant placement.
Immediate post-extraction implants
Placement in the same surgical session, managing the gap and emergence profile.
PRF — platelet-rich fibrin
Autologous membranes and sticky bone to improve healing and integration.
Want to perform your first sinus lift under supervision?
In the intensive Brazil residency, each participant operates sinus lift, GBR, All-on-4 and PRF cases on real patients, with continuous clinical mentoring.